
How to Draw A Dragon. The idea of kites appeals to small children, and people of all ages are fascinated.
Also, check our Rainbow Coloring Pages.
The peculiarity of the appearance of this legendary creature and the mystery of its existence makes this legendary creature an interesting subject for drawing.
However, their intricate pieces and patterns make them very difficult to draw.
Luckily, we’ve curated a step-by-step guide on how to draw a dragon, summed up in 9 simple and easy steps.
You can use these steps to draw a realistic or animated-looking dragon. Each step is accompanied by easy-to-understand illustrations that act as a visual guide as you follow the schooling.
You can follow these steps effortlessly. Plus, you can add your style and improvise at any stage.
Mix and match colours to personalize your artwork and make it unique. Let your inventiveness run wild and unleash your imagination.
Table of Contents
How to Draw A Dragon
Step 1
Starting at the top left corner of the paper, outline the dragon’s face. The dragon can point to its left or right depending on your preference.
Remember to leave enough room for the dinosaur’s very large eyes, nose and mouth. The outline should be relatively reptilian.
Avoid drawing the dragon’s head in the middle of the paper to leave enough space for the dinosaur’s body to draw. The body takes up much more space than the head.
Step 2
Fill in the elements of the dinosaur’s face. Begin with some big circular figures for the eyes, then draw two parallel curved stripes to create big nostrils.
Remember that dragons share many physical characteristics with a reptile, so make sure your drawing looks as much like a winged and horned snake, lizard, crocodile, alligator, or iguana as possible.
Step 3
Draw the dinosaur’s body attached to its face. You can make her body as plump or as slim as you want. If you want your dinosaur to look muscular, draw a bloated stomach.
On the other hand, highlight his muscular physique if you prefer his lean body. The sky is the limit of your imagination; take advantage of it!
Step 4
Attach a pair of three-toed feet to the dragon’s limbs. Dragons are typically depicted with three toes/claws because the Japanese believe that oriental dragons originated in their homeland.
However, feel free to break the mould! Make as many toes as you would like your dragon to have. There are no limits to your creativity!
Remember to draw extremely sharp claws – it’s one of the defining physical features of a dragon!
Step 5
Add a tail attached to the dragon’s lower back. Like the body, you can make it fat or skinny and long or short.
For a final look, draw an upside-down heart shape on the tip of the tail. In other illustrations of dragons, sharp points encircle the entire tail of the dragon. Don’t hesitate to customize the Dragon Tail’s characteristics. After all, it’s your work of art!
Step 6
Draw a pair of wings joined to the dragon’s back. A dragon’s wings are similar to those of a bat. Their wings share many physical characteristics, including the skin-like surface and the layered patterns on the underside of the wings.
Feel free to tighten the wings, nonetheless, if you like. Unleash your creativity and let your hands follow your imagination.
Step 7
Now it’s time to draw the features of the dragon’s body, including the horns, ears, and crest moulded into the top of its head.
The dragon’s ear may look like a shorter understanding of its wings, so you can draw the ear precisely as you drew its wings.
Draw two pointed triangular shapes resembling fangs on its head to create the horns. You can make it as long or short, thick or thin as you like.
Finally, add some ridges on the surface of the dragon head for extra detail and make your drawing more realistic.
Step 8
Add shading to the eyes and snout to make an illusion of deep. You can omit two white bubbles in the dragon’s eyes to create a “sparkly eyes” effect. The eyes give the dragon a touch of expression and emotion.
Draw parallel stripes on the dragon’s horns, ears, and wings for a more realistic effect. Also, remember to draw some sharp teeth to make your dragon wild!
Step 9
Incorporate the similar parallel line pattern from the previous step into the belly and underside of the dragon’s tail. And while at it, draw several circular patterns all over the dragon’s body to complete the look!
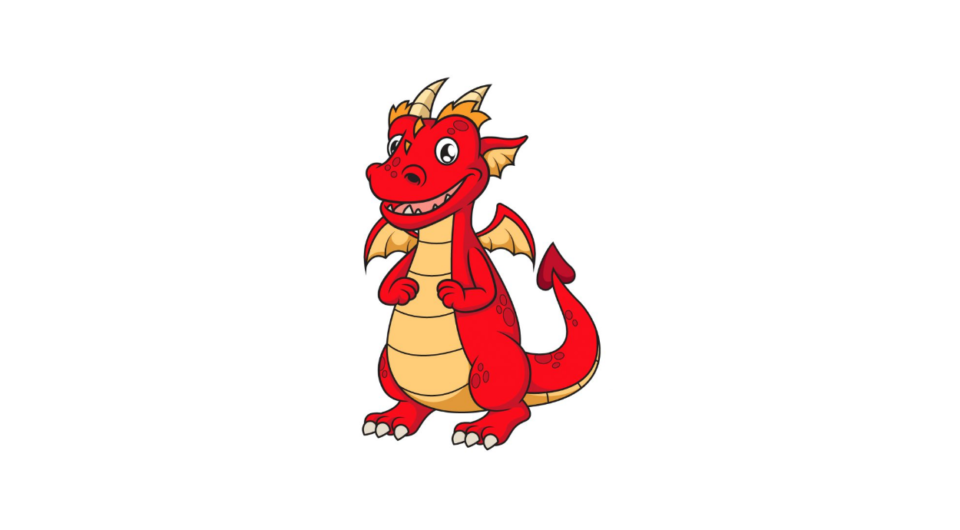
As you can see in this photo, the artwork is almost done! The only thing missing is a touch of vibrant, vibrant colour!
Finally, the most exciting part comes: fill in the colours for your amazing drawing! This is where you can show off your artistic skills and ability to mix and match different colours.
Dragons come in a variety of colours in different cultures. There is a golden dragon, a blue dragon, a black dragon and many more! Dragons come in almost every colour there is.
Your Dragon Drawing is Finished!