

Renovating a home is a national pastime in Australia. From modernizing a dated bathroom to extending the living area onto an alfresco patio, we love improving our spaces. At the heart of many of these projects is tile installation. A beautifully tiled floor or splashback can transform a room instantly, adding value and style.
However, tiling is one of those jobs that looks easy on TV but can quickly turn into a disaster in real life. We have all seen it: uneven floor tiles that trip you up, grout lines that wander like a bush track, or wall tiles that sound hollow when you tap them. These are the hallmarks of a rush job or a lack of knowledge.
Whether you are a brave DIY warrior tackling a weekend project or a homeowner managing a tradesperson, understanding the fundamental rules of laying tiles is essential. Getting it right the first time saves money, time, and heartache. This guide breaks down the critical “Do’s and Don’ts” to ensure your project looks professional and stands the test of time.
Table of Contents
The Preparation Phase: Where Success Begins
The biggest mistake people make happens before a single tile is taken out of the box. You cannot lay tiles on a surface that isn’t ready.
DO: Check for Flatness
In the tiling world, “flat” is king. If your concrete slab has a hump or a dip, your large-format tiles will not sit flush. You will end up with “lippage”—where one tile edge is higher than its neighbour. Use a long spirit level or a straight edge to check the floor. If there are dips, use a self-levelling compound. If there are high spots, grind them down. A flat substrate makes the actual tile installation ten times easier.
DON’T: Tile Over Cracks
If there is a crack in your concrete slab, that crack will eventually transfer through to your tile. Concrete moves; it expands and contracts with the Australian heat. If you simply tile over a moving crack, your tile will snap. You must use a crack isolation membrane or repair the substrate properly before starting.
DO: Waterproof Wet Areas
This is non-negotiable in Australia. Under the Building Code of Australia (AS 3740), wet areas like bathrooms and laundries must be waterproofed. This prevents water from leaking into the structure of your house, causing rot and termites. Always apply a quality liquid waterproofing membrane and let it cure fully before tiling.
Selecting the Right Adhesive and Grout
Not all glues are the same. Walking into a hardware store and grabbing the cheapest bag of “tile adhesive” is a recipe for failure.
DO: Match the Glue to the Tile and Substrate
- Porcelain Tiles: These are dense and don’t absorb water. You need a polymer-modified adhesive designed for non-porous tiles.
- Natural Stone: Some stones (like light-coloured marble) can be stained by grey adhesive. Always use a white adhesive designed for stone.
- Timber Floors: If you are tiling over timber (using a fibre cement sheet underlay), you need a flexible adhesive that can handle the slight movement of the timber joists.
DON’T: Mix Grout with Dirty Water
It sounds simple, but using clean water and clean buckets is vital. Contaminants can change the colour of your grout or weaken it. Also, don’t guess the water ratio. Follow the instructions on the bag. Too much water makes the grout weak and powdery; too little makes it hard to work with.
The Layout: Avoiding the “Sliver” Cut
Nothing screams “amateur” like a tiny 2cm strip of tile running along one wall. This happens when you start tiling from one corner and work your way across without planning.
DO: Find the Centre Line
Measure the room. Find the centre point of the floor or wall. Snap a chalk line. Start your layout from the centre and work outwards. This ensures that the cut tiles at the edges of the room are equal in size and aesthetically pleasing. This symmetry creates a sense of balance.
DON’T: Trap Yourself in a Corner
Always plan your exit route! If you are tiling a floor, start from the furthest point and work your way back towards the door. There is nothing worse than tiling yourself into a corner and having to walk over your wet, shifting tiles to get out.
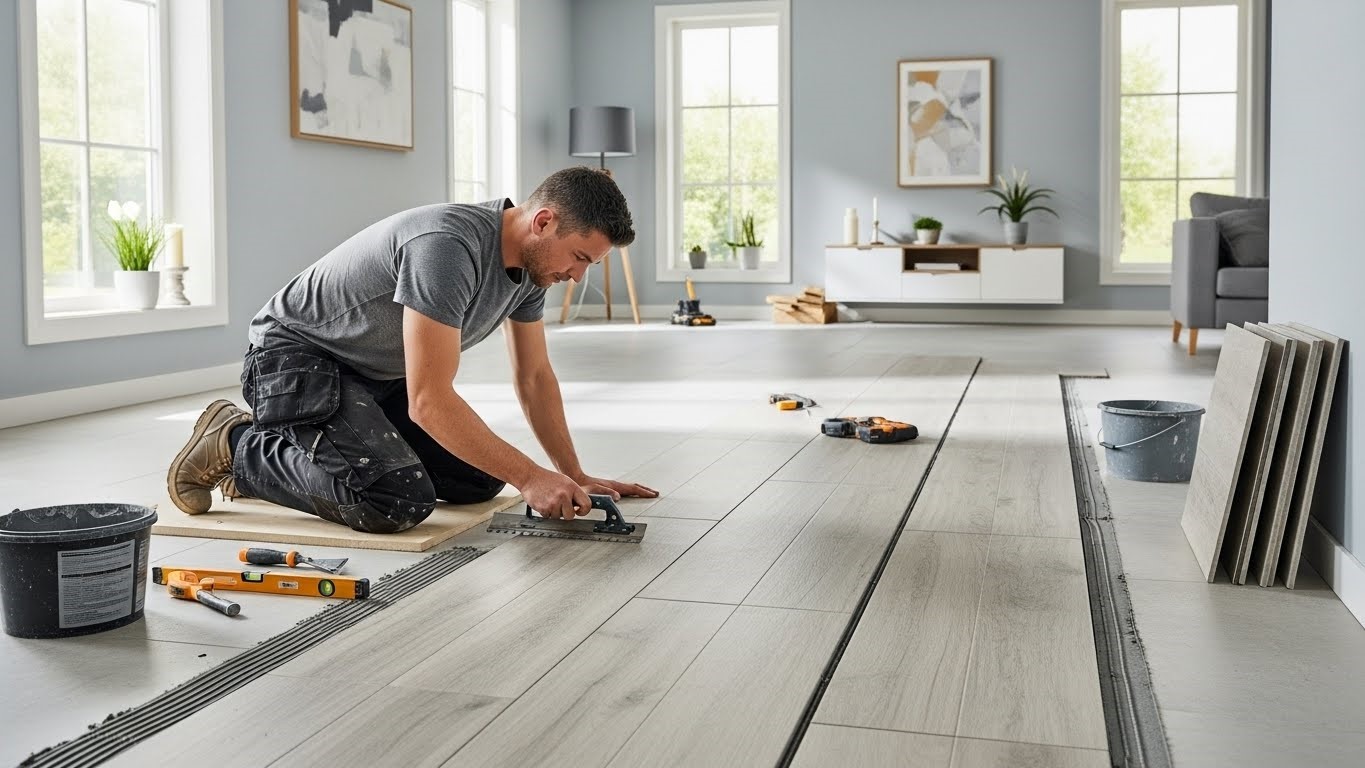
Installation Techniques: Trowels and Buttering
The way you apply the glue determines if your tiles will stick for 20 years or pop loose next winter.
DO: Use the Correct Trowel Size
The trowel notch size dictates how much glue is left on the floor.
- Small tiles (mosaics): Use a 4mm or 6mm notched trowel.
- Large tiles (600x600mm+): Use a 10mm or 12mm notched trowel to ensure enough adhesive bed to support the tile.
DO: Back-Butter Large Tiles
“Back-buttering” means applying a thin layer of adhesive to the back of the tile itself, as well as combing adhesive onto the floor. This is essential for large-format tiles (anything over 300x600mm). It ensures 100% coverage and adhesion. If you don’t do this, you risk having voids under the tile, which can cause it to crack if something heavy is dropped on it.
DON’T: Spot Bond
“Spot bonding” or “dobbing” is a lazy technique where the tiler puts five blobs of glue on the corners and centre of the tile and pushes it down. This is bad practice. It leaves massive air gaps under the tile. These gaps are weak points where tiles crack, and in outdoor areas, they can fill with water, causing efflorescence (white salty stains) to seep through the grout. Always spread the adhesive evenly with a notched trowel in straight lines.
Cutting and Drilling
Cutting tiles requires patience and the right tools.
DO: Use a Wet Saw for Clean Cuts
For porcelain and stone, a manual score-and-snap cutter is great for straight cuts, but for professional, chip-free edges (especially around door frames or drains), an electric wet saw with a diamond blade is best. The water keeps the blade cool and suppresses dangerous silica dust.
DON’T: Rush the Drilling
If you need to drill a hole for a pipe or a shower fixture, go slow. Use a diamond hole saw. Keep the bit wet and use a low speed. If you push too hard or let the bit get hot, the tile will crack, and you will have to start that piece again.
Grouting and Cleaning
The final stage of tile installation brings it all together.
DO: Remove Spacers Before Grouting
It seems obvious, but people forget. Don’t grout over your plastic crosses. Dig them out. If you leave them in, the grout on top of them will be thin and will eventually flake off, revealing the plastic underneath.
DON’T: Leave Grout Haze too Long
After grouting, you need to wipe the tiles down with a damp sponge. You will likely see a dusty film (haze) appear as it dries. Buff this off with a dry cloth within 24 hours. If you leave it for days, it cures and becomes incredibly difficult to remove, requiring acid cleaners that can damage your new grout joints.
Questions and Answers: Common Questions About Tile Installation in Australia
Q: Do I need to soak my tiles before laying them?
A: Generally, no. In the old days, very porous ceramic tiles needed soaking so they wouldn’t suck the water out of the mortar too fast. Modern porcelain and high-quality ceramic tiles sold at places like City Tile & Stone do not need soaking. In fact, soaking them can make modern adhesives less effective.
Q: Can I tile directly over a yellow tongue particleboard floor?
A: No. Particleboard is sensitive to moisture and movement. If you tile directly onto it, the tiles will likely crack or pop loose. You must install a tile underlay (fibre cement sheet) first. This sheet is glued and nailed to the floor, providing a stable, rigid surface for the tile installation.
Q: Why are my grout lines cracking?
A: Cracking grout usually means there is movement in the subfloor that the grout cannot handle. It can also happen if the grout was mixed with too much water (making it weak). In corners where walls meet floors, you should never use grout. You must use a flexible silicone caulk that matches your grout colour, as these joints are natural expansion points.
Q: How long should I wait before walking on the new floor?
A: Check the bag of adhesive, but the general rule is 24 hours. Fast-setting adhesives might allow foot traffic in 4-6 hours, but standard glues need time to cure properly. Walking on them too early can shift the tiles and ruin your level finish.
Q: Do I need to seal the grout?
A: Standard cement-based grout is porous. It will absorb coffee spills, dirt, and oil, turning discoloured over time. Applying a grout sealer is a great idea, especially in light-coloured grout lines in kitchens and bathrooms. It makes the grout water-resistant and much easier to keep clean. Alternatively, you can use epoxy grout, which is waterproof and stain-proof without needing sealer, though it is harder to install.
Conclusion: Your Path to a Successful Tile Installation in Australia
Tiling is a craft that rewards patience and preparation. It is not a race. By following these simple but critical rules—checking your substrate, planning your layout, using the right adhesive, and avoiding shortcuts—you ensure a result that looks like it belongs in a magazine.