
Are you dreaming of warm, beautiful timber floors throughout your home? Wondering whether you should tackle the installation yourself or leave it to the professionals? Perhaps you’re curious about how much it’ll all cost and which type of timber flooring suits your lifestyle best?
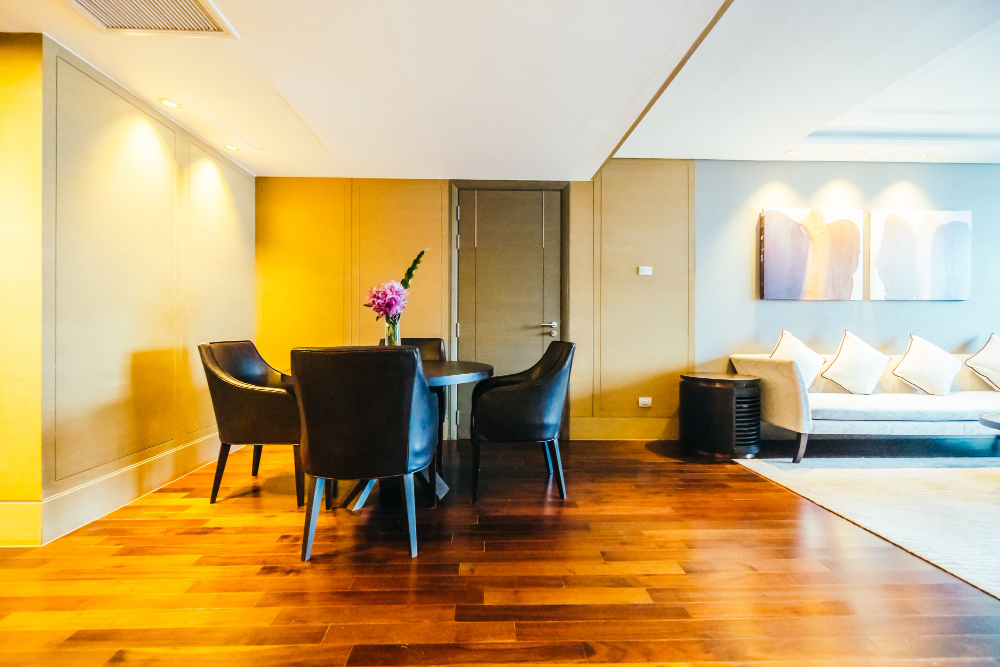
You’re not alone. Timber flooring remains one of Australia’s most popular choices for homeowners, and it’s easy to see why. There’s something timeless about the natural warmth and character that real wood brings to any space. From modern apartments in Sydney to classic Queenslanders up north, timber floors continue to be a go-to option for Aussies who want both style and durability.
This guide covers everything you need to know about timber flooring installation. We’ll explore the different types available, break down the costs you can expect, and walk you through the various installation methods. Whether you’re a keen DIYer or planning to hire a professional, you’ll find practical advice to help you make informed decisions. Plus, we’ll tackle those common questions that pop up when homeowners start researching their flooring options. Let’s get stuck into it.
Table of Contents
Types of Timber Flooring Options
Solid Hardwood Flooring
Solid hardwood is the traditional choice that never goes out of style. These planks are milled from a single piece of timber, typically around 19mm thick. Popular Australian species include Spotted Gum, Blackbutt, and Tasmanian Oak.
The beauty of solid hardwood lies in its longevity. You can sand and refinish these floors multiple times over their lifespan, which often exceeds 100 years with proper care. However, solid timber is more susceptible to moisture and humidity changes, making it less suitable for areas like bathrooms or below-ground installations.
Engineered Timber Flooring
Engineered timber has gained massive popularity in recent years. It features a real timber veneer on top, bonded to multiple layers of plywood or high-density fibreboard beneath. This construction makes it more stable than solid hardwood.
The multi-layer design means engineered floors handle humidity fluctuations better. You can even install them over concrete slabs or with underfloor heating. While the top veneer can be sanded and refinished once or twice, it won’t last quite as long as solid timber.
Bamboo and Laminate Options
Bamboo flooring offers an eco-friendly alternative with impressive hardness ratings. Technically a grass rather than timber, bamboo grows rapidly and regenerates quickly. Strand-woven bamboo, in particular, rivals the durability of many hardwoods.
Laminate, on the other hand, isn’t real timber at all. It’s a photographic image of wood printed onto a fibreboard core. While budget-friendly and easy to install, laminate can’t be refinished and typically lasts 15-25 years. The choice between laminate and real timber ultimately comes down to your budget and long-term plans for the property.
Preparing for Timber Floor Installation
How Do I Prepare My Subfloor for Timber Flooring?
Proper preparation is absolutely key to a successful installation. Your subfloor must be clean, dry, level, and structurally sound. Remove all existing floor coverings, including carpet, underlay, and any adhesive residue.
Check for squeaks or loose boards in timber subfloors and secure them with screws. Concrete subfloors need to be checked for cracks and levelled if necessary. A general rule is that the subfloor shouldn’t vary more than 3mm over any 3-metre span.
Moisture Testing and Acclimatisation Requirements
Moisture is timber’s greatest enemy. Test concrete slabs for moisture using a calcium chloride test or electronic moisture meter. Readings above 75% relative humidity indicate you’ll need a moisture barrier.
Your timber needs time to acclimatise to your home’s environment before installation. Stack the planks in the room where they’ll be installed, leaving gaps for air circulation. Most manufacturers recommend 7-14 days of acclimatisation. This step prevents excessive expansion or contraction after installation.
Tools and Materials You’ll Need
For DIY installation, gather these essentials: tape measure, chalk line, circular saw or mitre saw, tapping block, pull bar, spacers, and a quality pneumatic flooring nailer or stapler for nail-down methods. Floating installations require fewer specialised tools.
Don’t forget safety gear knee pads, safety glasses, and hearing protection make the job more comfortable. Quality underlayment, moisture barriers, and appropriate adhesives round out your material list.
Timber Flooring Installation Methods Explained
What Are the Different Methods of Installing Timber Floors?
Three primary methods exist for installing timber flooring: nail-down, glue-down, and floating. Each has distinct advantages depending on your subfloor type, timber choice, and specific circumstances.
Nail-down installation works best for solid hardwood over timber subfloors. Flooring nailers drive cleats through the tongue of each board at a 45-degree angle, creating a secure, permanent bond. This method provides excellent stability and that satisfying solid feel underfoot.
Glue-down installation suits engineered timber over concrete slabs. A flexible adhesive bonds the planks directly to the subfloor. This method works well with underfloor heating and creates minimal floor height increase.
Floating floor installation is the most DIY-friendly option. Planks click or lock together without attaching to the subfloor. The floor “floats” over an underlay, accommodating natural expansion and contraction. This method suits engineered timber and laminate products.
Which Installation Method Is Best for My Home?
Your choice depends on several factors. For homes built on stumps with timber subfloors, nail-down installation often works best. Slab-on-ground construction typically suits glue-down or floating methods.
Consider your renovation plans too. Floating floors are easier to remove if you might change flooring in future. For rental properties or homes you plan to sell, professional glue-down or nail-down installation adds more value.
Can You Install Timber Flooring Yourself?
Step-by-Step DIY Installation Guide
Starting with a floating floor? Begin by laying your underlay, taping seams together. Work from the longest wall, leaving 10-15mm expansion gaps around all edges. Click your first row together, using spacers against the wall.
Stagger joints by at least 300mm between rows for structural integrity and visual appeal. Tap planks gently using a tapping block to close joints fully. Cut your final row to fit, remembering those expansion gaps. Install skirting boards or scotia to cover the gaps neatly.
Common Mistakes to Avoid
Skipping acclimatisation tops the list of DIY disasters. Rushing this step leads to gaps or buckling down the track. Another common error is forgetting expansion gaps timber needs room to move with seasonal changes.
Poor staggering creates weak points and looks unprofessional. Failing to check moisture levels can ruin your entire investment. Finally, working in poor lighting leads to missed imperfections and alignment issues.
When to Call a Professional Installer
Complex layouts, stairs, or intricate patterns warrant professional help. The same goes for subfloors requiring significant preparation work. If you’re working with expensive materials, the cost of professional installation provides peace of mind and warranty protection.
Making Your Timber Flooring Investment Count
Timber flooring installation represents a significant investment in your home, but it’s one that pays dividends in comfort, style, and property value. From choosing between solid hardwood and engineered options to selecting the right installation method, each decision shapes your final result.
Take time with your preparation it truly makes all the difference. Whether you’re going DIY or hiring professionals, understanding the process helps you achieve the best outcome. Don’t cut corners on acclimatisation or moisture testing, as these steps protect your investment for years to come.
Your beautiful new timber floors await. Armed with this knowledge, you’re ready to make confident decisions about your flooring project. Remember, quality materials combined with proper installation and ongoing care will give you floors that last a lifetime. Here’s to many years of enjoying that gorgeous natural timber underfoot.