
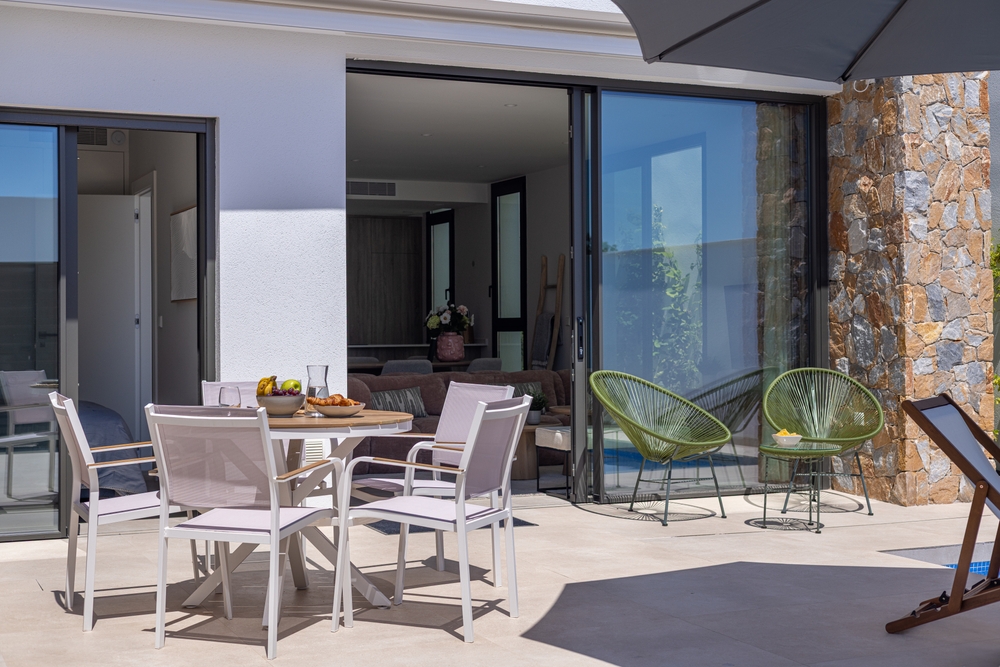
Have you ever gone to a room and thought: “This place would be perfect if only that door didn’t swing in everything”? Or maybe you have dreamed of creating a spontaneous flow among your living areas without waiving privacy when needed? What if you can magically remove the doors in your walls, add a touch of modern elegance to your home and free the place of the precious floor?
In this guide we will go through everything you need to learn about installing sliding switches in inner cavities. When we understand if they are perfect for your place to master the installation process, we will cover the nitty-Gritty details that do or break your project. You will learn about costs, generally loss and the internal formulas that professionals often keep themselves.
Table of Contents
Understanding Internal Cavity Sliders
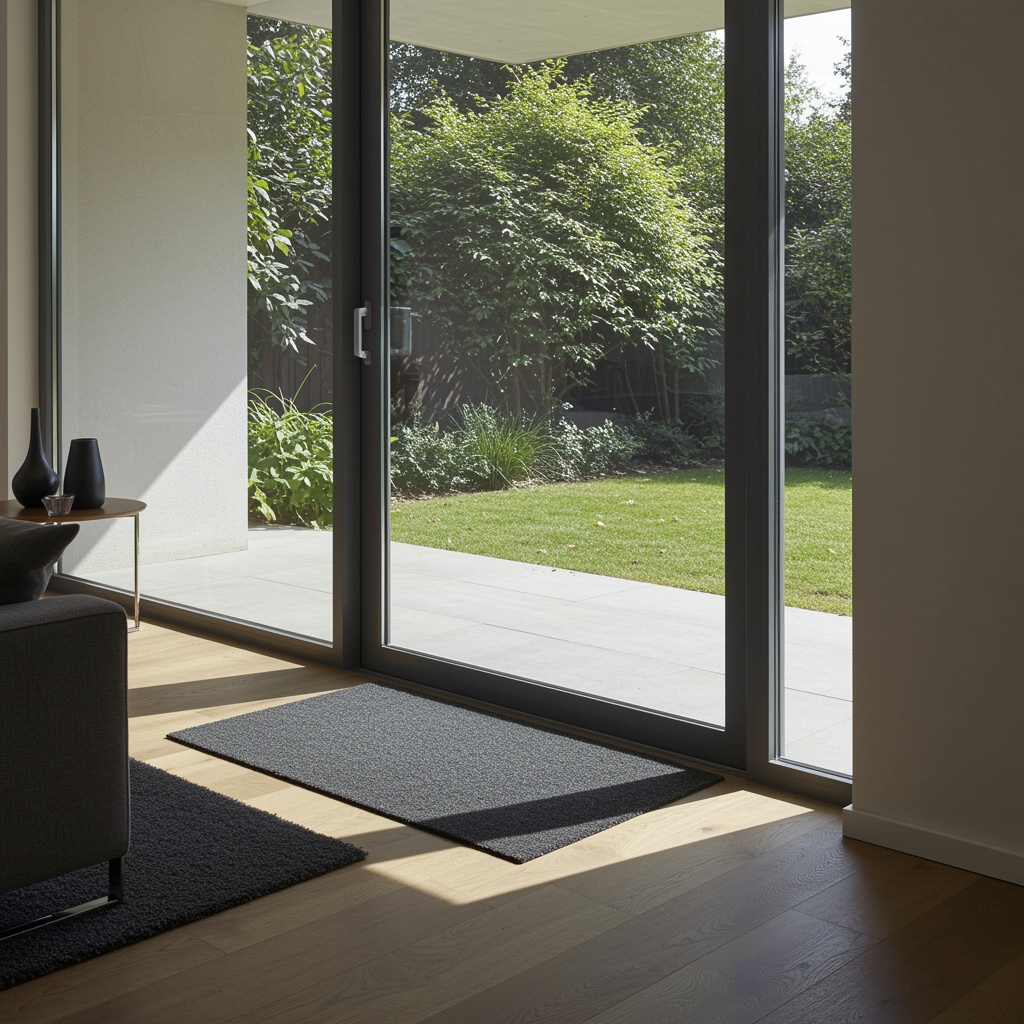
Let’s start with the basics what exactly is a cavity slider door? Simply put, there is a door that slides in a pocket inside your wall instead of opening it open on the hinges. The door disappears completely when the door is open, a specially produced cavity inside the frame that sits in your wall structure.
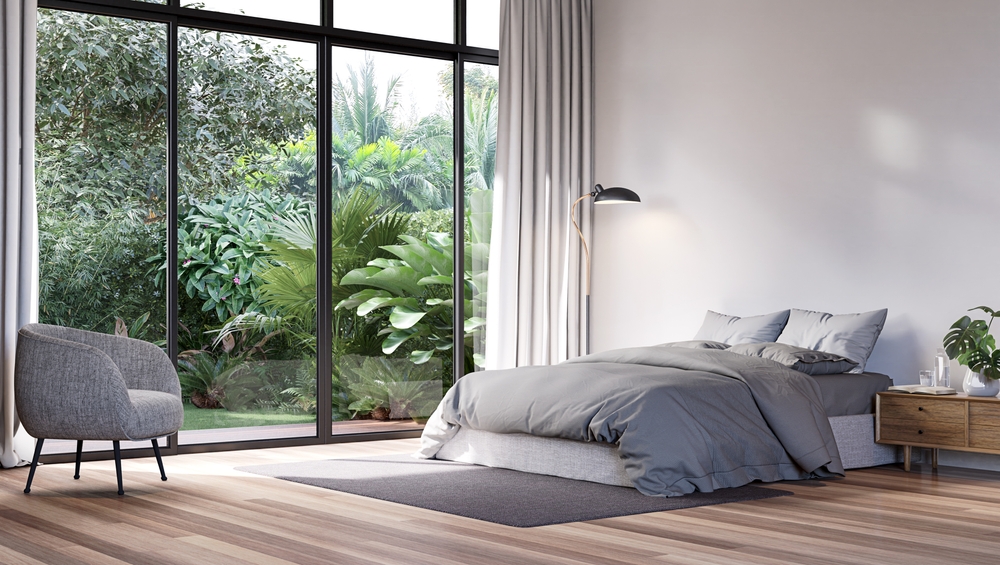
There are many benefits to choosing sliding switches on cavities on traditional doors, and they just move well to save space. First and foremost, you will restore ten square meters per door per door, which is enough for a small table or reading chair. They are perfect for narrow places such as lexical, walk-in wardrobes or narrow hallway where a swinging door would be a constant obstacle.
Pre-Installation Essentials: Getting Your Space Ready
How much does it cost to install a sliding door in the cavity? Budget between $ 500 and $ 2500 for hardware and doors based on quality and facilities. If you are hiring a professional, you can add another $ 800 to $ 1500 for installation. Remember for the budget to complete materials such as Architraves, paint and any electrical function, which may require moving.
Your equipment and content should contain clear and frequent forgetting items in the checklist. In addition to the slider in the cavity you need a spherical saw, drill, level, tape measure and spike. Do not forget about safety equipment, gloves and dust masks.
It is important to measure your place properly – this is the place where expensive errors often occur. Measure the height and width of the doorway at many points, as the walls are rarely square. Check the floor level over the opening and measure the thickness of the wall in many places.
Choosing the Right Cavity Slider System
Standard sizes versus custom options present an important decision point in your project. Standard systems usually adjust doors from 600 mm to 900 mm wide and 2040 mm, covering most housing requirements. These solutions outside the shelf are easily accessible and are more affordable.
Weight ratings and door material compatibility shouldn’t be overlooked when selecting your system. Basic systems handle doors up to 40 kg, which are suitable for hollow or light three doors. Powerful systems manage up to 120 kg, which is necessary for solid wood or glass doors.
You can turn your slider from functional to luxurious to consider soft-luxury mechanism and premium features. Soft-closed systems prevent swelling and reduce wear, especially valuable in bedrooms or media rooms. Some systems provide synchronized double doors so that two doors can slip at the same time for a wide opening.
Step-by-Step Installation Process
Preparing the Wall Opening
Preliminary function and patience are required to safely remove the existing door. Begin by removing doors, frames and artifacts gently. Cut the plasterboard to highlight full opening, work to avoid work areas slowly that you want to keep. If you expand the opening, you may need to remove and move the student-this is where things get complicated if you work with load-bearing walls.
Creating the cavity frame structure is the foundation of your entire installation. The cavity needs precise dimensions to accommodate your door plus the sliding mechanism. Build a new frame using either timber or metal studs, making sure everything is perfectly plumb and level. The pocket area must be completely clear of obstructions – even a protruding screw can cause problems later.
Installing the Track System
How do you fit a cavity slider? Start with the track system, as everything else depends on getting this right. The top track must be absolutely level and solidly fixed to the structure above. Use a long spirit level and check multiple times even a slight angle will cause operational problems. Most systems include detailed instructions, but the general principle remains consistent across brands.
Levelling and securing the top track often require shimming to compensate for imperfect framing. Use packers where needed but avoid over-tightening screws, which can bow the track. The track must support the door’s full weight, so use all provided fixing points and consider adding extra support for heavy doors.
Mounting the Door
Hanging techniques for different door weights vary significantly between systems. Lightweight doors often use simple wheel carriages that clip onto the door top, whilst heavy doors might require reinforced hanging brackets bolted through the door. Take your time here – rushing can damage both door and mechanism.
Adjustment tips for smooth operation can mean the difference between a door that glides effortlessly and one that sticks constantly. Most systems allow vertical and horizontal adjustment via the wheel carriages. Start with rough positioning, then fine-tune once the door is hanging. The door should have even gaps around all edges and slide without rubbing anywhere.
Common Installation Challenges and Solutions
Handling uneven walls and floors are almost indispensable in renewal projects. Older houses suffer specifically from disposal and movement over time. Use a long straightedge to identify high and low spots, then address them before installation. Shimming can compensate for minor variations, but significant issues might require replastering or floor levelling.
Attach doors that do not want to attach or push properly, usually systematic troubleshooting involves systematic problems. Check the track that it is clean and unpublished, confirm that the door is not deformed and confirm that all adjustments are correct. Sometimes the problem is the door brushing against the pocket sides adding felt strips can help. Other times, the wheel carriages need lubrication or replacement.
Finishing Touches and Hardware
Careful plans are required to install door handles and locks, as you cannot use the standard hardware designed for swing door. Edge-pull handles that sit flush when closed are popular choices. Privacy locks for bathrooms need special cavity slider versions that don’t protrude into the pocket. consider magnetic catches to keep the door closed.
Trim and architrave options can dramatically affect the final appearance. You can match existing trim for consistency or use the opportunity to modernise with square-set finishes. Sound-proofing considerations for bedrooms and bathrooms are important cavity sliders inherently provide less acoustic isolation than solid doors.
Maintenance and Troubleshooting
A minimum, but regular maintenance is required to run your slider evenly for years. Clean the path from time to time to remove dust and debris that can disturb the movement. Avoid annual oil -based products with greased wheels with silicon spray that attracts dirt.
Rapid improvement for common problems can prevent you from calling in professionals. If the door begins to attach, check first for obstacles in the groove or pocket. Squiring usually indicates dry wheel trains that require lubrication. The doors that do not remain closed may require adjustment of the installation of door stops or magnetic catch.
When you call in professionals, depends on your comfort level and complexity of the problem. Structural problems, significant door damage or complete mechanism failure guarantee professional help. The warranty varies from the idea and manufacturer of long -term care, but most quality systems provide a 10 -year warranty on mechanical components. Keep the purchase documentation to preserve the warranty cover and follow the maintenance guidelines.
Conclusion
Installing internal cavity sliders changes your home features, making flexibility and flow, and maximizes each square meter space. During this guide, we have discovered the entire journey through the final maintenance from the initial plan and covers the important details that distinguish the installation of a professional quality from a problematic.
Whether you can handle this project yourself or rent professionals, now you understand what is included and informed decisions can be made. Remember that while cavities sliders require more initial work than standard doors, they provide space -saving functions and years of modern aesthetics.